


How to Draw a Girl Step By Step. This twelve-step tutorial will show you how to draw a girl in cartoon style. Includes detailed illustrated examples along with aspect ratios and marking instructions. The girls paint step by step. Drawing people (even in a simple cartoon style) can be daunting. For your convenience, this tutorial will split the design into 12 phases to show you how to design and position the various parts of the head and face.
You can darken the lines when you are almost drawn. You can Also Check easy girl drawing.
Here We Start To Draw A Girl
Step 1
Draw the Top of the Head
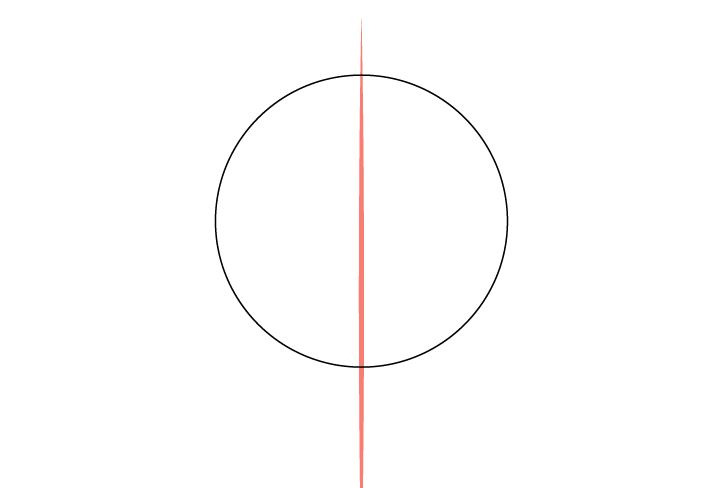
Before drawing any part of the head or face, it may be helpful to pull a linear perpendicular bar in the middle of the page/drawing area. This line can serve as a guide so you can see if both sides of the head/face are also vast. It can also help you center the design on the page.
At the top of the line, draw a circle representing the crown of the head. Be careful not to pull it too high, as you will need to leave some space for the hair.
Step 2
Draw the Lower Part of the Face
Starting from the circle representing the top of the head, draw the lower part of the face, similar to the example shown. Because it is a stylized cartoon character, this part of the face is designed smaller than real people with a sharper chin.
When done, delete the bottom of the circle so that the head looks like the example in the next step.
Step 3
Draw the Neck/shoulders
Neck design for girls
Although this tutorial focuses on head/face design, adding body parts is a good idea. Otherwise, your plan will look weird.
Going down from the chair’s base, count the neck and shoulders. Because it is a stylized figure, the channel is relatively thinner than the head. You can also make the shoulders relatively small concerning the head (relative to actual human proportions).
Step 4
Draw the Ears
To position the ears, pull them up, close the head’s horizontal half and the bottom between it and the chin, as shown in the example above.
You do not have to draw all the guides, but add the bar that divides the face in half horizontally (you can guess the rest). Also, you do not need to draw any of the inner details of the ears (at this point) as most of them are covered with bristles (added in the following steps).
Step 5
Draw the Eyes
Draw the eyes below the horizontal half of the head, similar to the ears. Since this is a cartoon character drawing the bottom of the eyes, it may count on how big you enjoy it to exist.
Tilt your eyes slightly down towards the center of your head.
Design the iris so that the upper eyelids slightly cover the edges; otherwise, the eyes look stiff.
Step 6
Draw the Eyebrows
Raise your eyebrows slightly higher than your eyes. Make them thicker towards the center of the face and narrower towards the ears. You can also place them a little closer to the center of the face.
Step 7
Draw the Nose
To draw the nose, place the bottom between the top of the eyes and the bottom of the chin.
You can visualize the top/bottom of the nose with a single wavy line. Next, draw each of the sides with a slight curve.
Finally, draw only a hint of the bridge of the nose with a long curve going from the bottom to the eyebrows.
Do not draw the other side of the bridge, as your nose will look strange after removing a girl.
Step 8
Draw the Mouth
To complete the placement of facial features, draw the mouth. Position your mouth with your lower lip between the bottom of your nose and your chin.
In this case, the mouth is designed with a slight smile, making it slightly more comprehensive than in its natural state. Its overall shape will curve slightly upwards.
Step 9
Design the Hair
When designing this particular haircut, you can think of it in two parts. The front/side (shown in red) and the back (shown in green).
First, draw the front and then add the back.
Step 10
Finished Line Design
Line drawing girl At this point, sketch your design with darker lines, adding minor details of facial features and a hint of clothing.
Step 11
Paint the Design
While the drawing in the example is digitally colored, it is easy to draw it on paper with colored pencils. The marks can be very light, and the colors can get dirty when you try to fill in the minor details of the face.
Step 12
Add Some Shadows and Complete the Girl Drawing.

To make the design a little less “flat,” you can add a bit of effortless shading by darkening some areas of the invention. You can do this by scanning parts of the colored sites with a regular pencil or using a darker shade of the color of your choice.
In general, the way shadows appear in anything depends on the lighting. To put it simply, this girl’s face is shaded as if she were out on a sunny day or indoors in a well-lit room.
Add shading to the following points:
- Small shadows around the eyelid areas
- Shadows inside the ears (barely visible)
- The small shadow under the nose
- Shade the entire upper lip (make everything darker)
- Large shadow on the neck (pouch near the head) similar to the shape of the chin
- Large hair shade in the area between the favorites and the neck of the neck
Also read: Use a Good Visitor Management System for Your Business

